5 Simple Photo Editing Tools to Take Your Travel Photography to the Next Level

Whether you are just starting out your photography journey or well on your way to becoming a pro, here are some easy-to-use photo editor software options for you!
While there is no doubt in my mind that there are seriously powerful photo editing programs out there that do an amazing job of transforming photos, more is not always better, and sometimes you just don’t need all the advanced functionality of some of these tools.
When I started this website in 2015, all of my photos were taken exclusively using a smartphone. In fact, all of my photos for the next 2 years were taken using an iPhone, and it wasn’t until 2017 when I was gifted a DSLR camera that I started to take travel photography a little more seriously.
Do you primarily use your smartphone to take travel photos? Click here for 11 easy tips and tricks to up your mobile photography game!
Since then, I’ve attempted to familiarize myself with this incredibly powerful piece of equipment, but please don’t get me wrong – I am no photography expert, I just really enjoy taking photos! I also still use my iPhone frequently so this guide is still for you if you’re working with your smartphone for travel photography.
With all of the tools and subscription plans out there, it can be confusing to pick which photo editing tools to add to your arsenal. Between paying for Canva, Tailwind, a keyword research tool, theme support, domain registration and hosting, I could not bring myself to hand over even more cash for Lightroom or Photoshop.

Furthermore, the idea of trying to learn how to use yet another program was overwhelming, especially when I was only going to use less than a tenth of its functionality. No thank you. I may take the leap one day and learn how to use Photoshop or Lightroom, but I’m a lot lazier than I care to admit so today is not the day.
Here are some of my favorite tried-and-tested, simple-to-learn and easy-to-use photo editing programs. This article is for you if:
- You are just starting out with travel photography and want some recommendations to ease you into editing AND/OR you’re only looking to make basic, uncomplicated edits to your photos to fix issues or make them “pop”
- You don’t want to fork over big amounts of moolah for photo editing software
- The idea of a steep learning curve makes you want to hurl and/or you are seriously impatient
These tools work for me and my process, and gives me more time to work on other aspects of running Yoga, Wine & Travel (plugin conflicts are the bane of my existence) and play with my dogs. Here is a photo of them, just because.

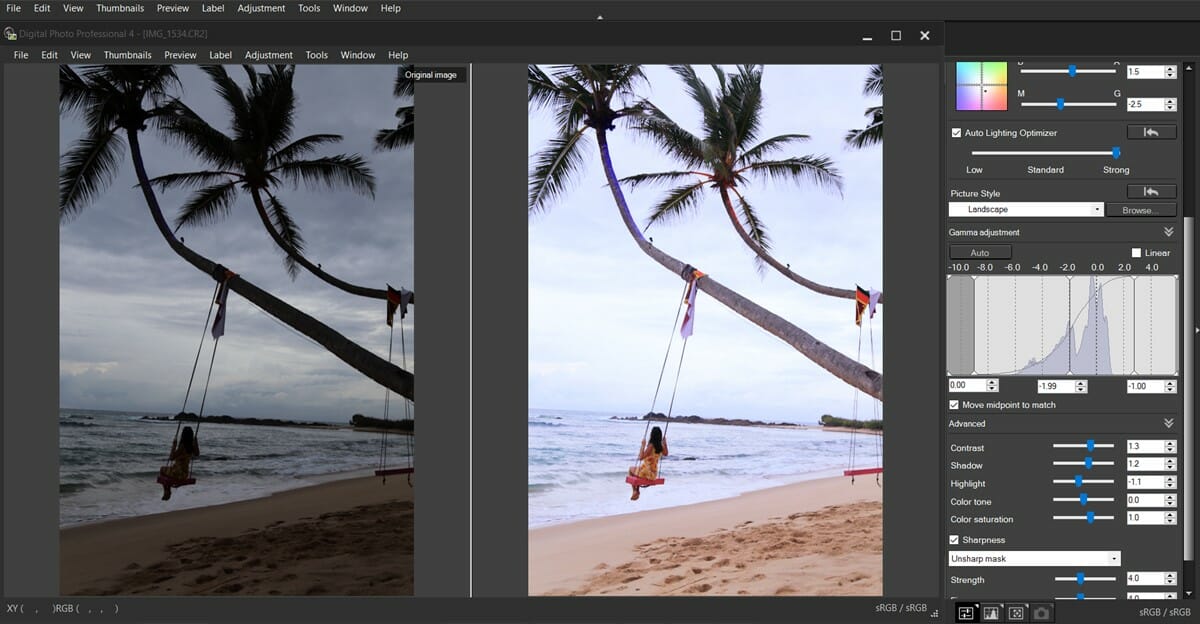
1. Canon Digital Photo Professional (DPP)
I use this photo editor because it’s free and offers a pretty powerful suite of editing tools for RAW photos taken with my Canon 6D camera. DPP can also be used to edit JPEG photos but the functionality is more limited – whenever possible, you should aim to shoot in RAW format so that more image data is captured and saved, making photos more easily editable.

The gamma adjustment and white balance functions are fantastic, and can also be used to bulk convert RAW images to JPEG. The program comes with your camera, or can be downloaded from the Canon website’s support section, and you may be asked to enter your camera’s model and serial number. Don’t use a Canon camera? Not to worry, there are similar programs for Sony and Fujifilm cameras.
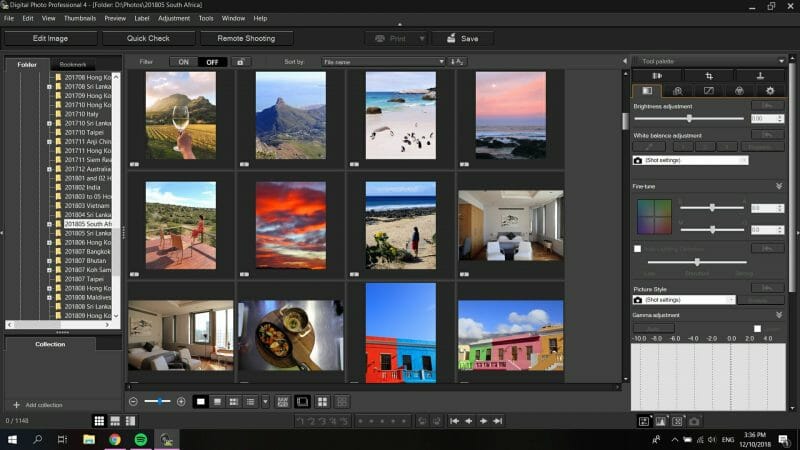
2. PhotoScape
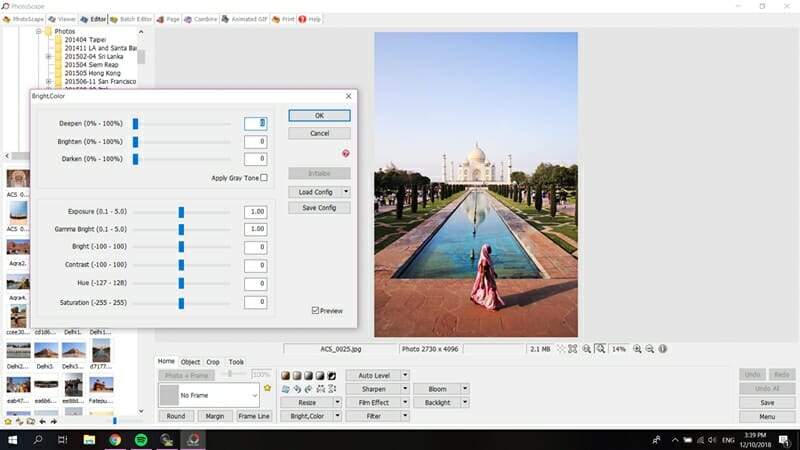
Once you’ve converted your RAW photos to JPEG, you can use this free image editor for any other edits if needed. I basically use PhotoScape to resize, crop, “heal” objects using the clone tool or make any last-minute changes to brightness, contrast and saturation.
It’s a very beginner-friendly photo editing program, and fairly straightforward when you start using it. I’ve used this one for years – let me know what you think!
This photo was taken in 2015 in low light conditions using a pretty terrible Samsung phone. I straightened it out, cropped it slightly, bumped the contrast, saturation, brightness, played around with the luminance curve, and lifted the reds and blues in the highlights.
3. GIMP
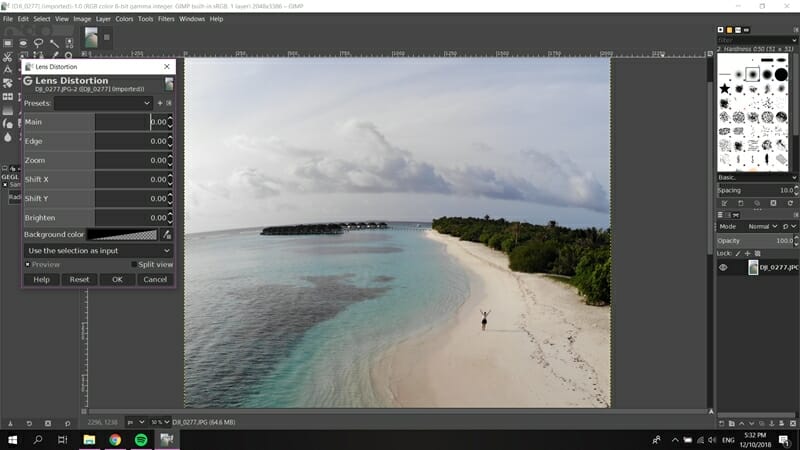
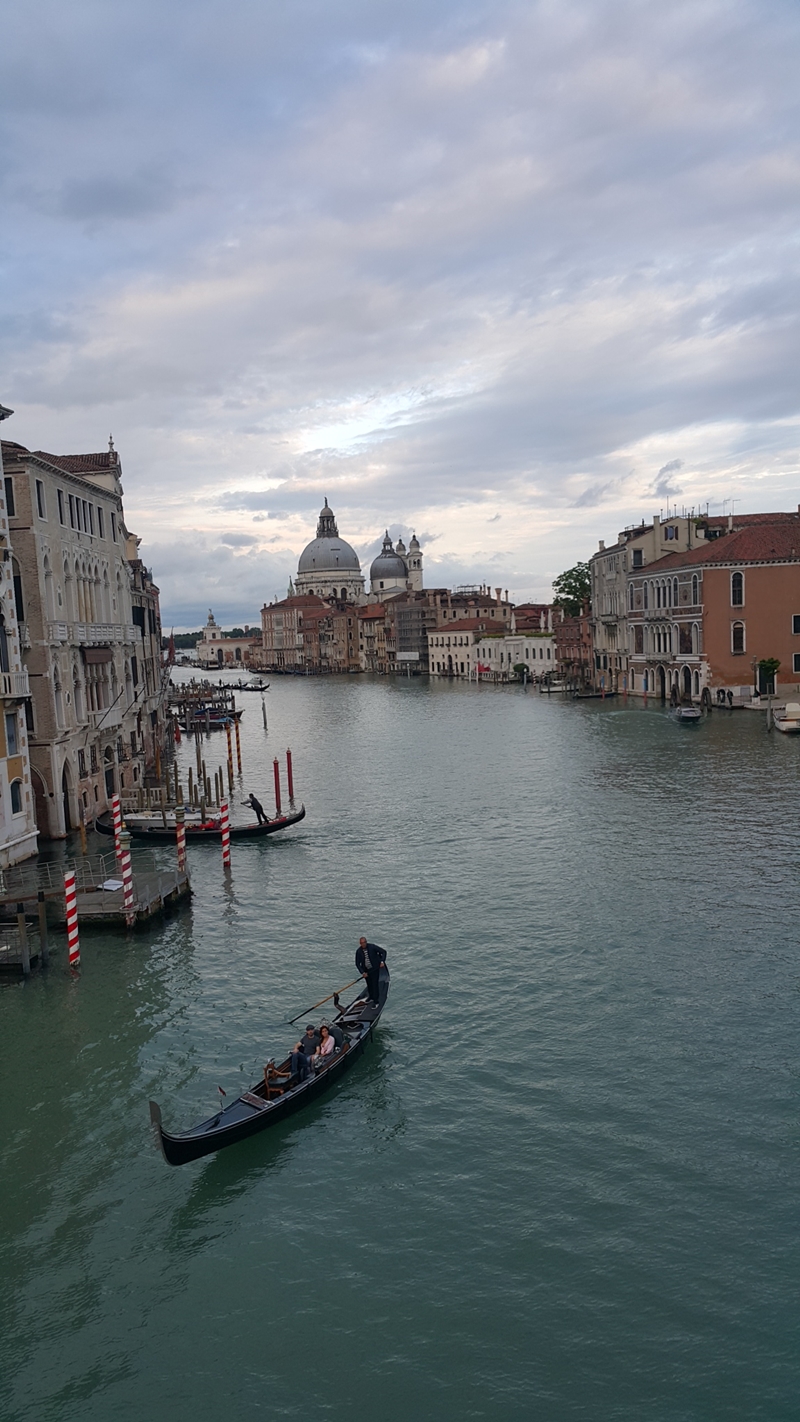
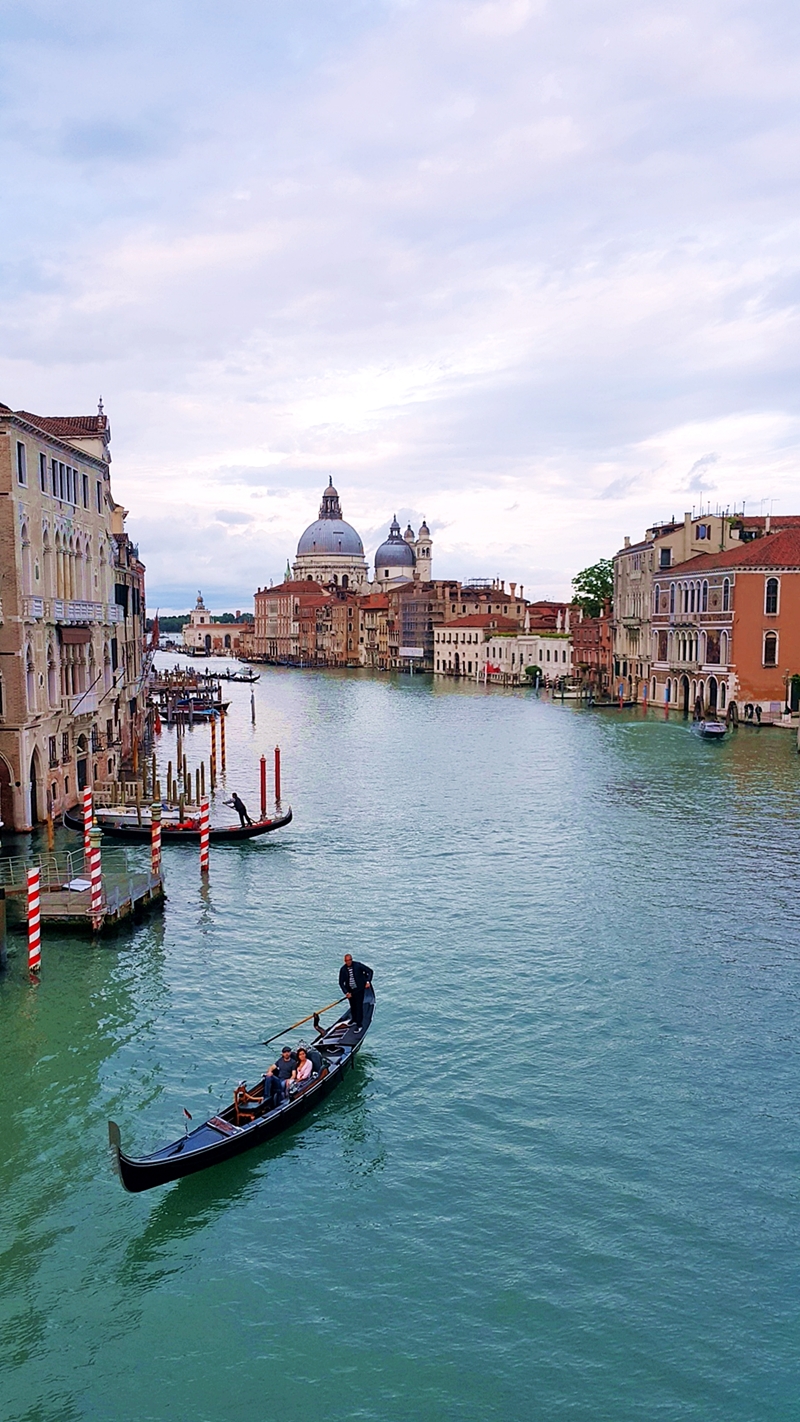
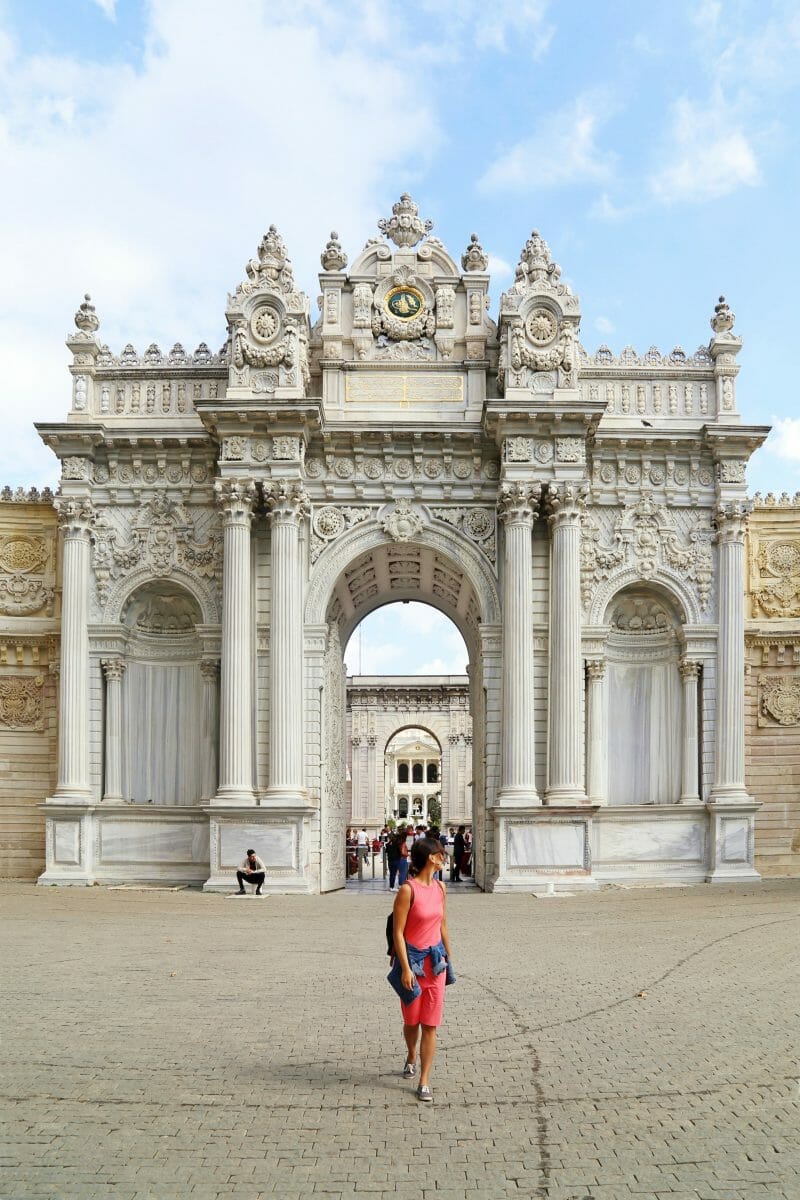
GIMP is great and one of the best free photo editing software out there. People say that it is akin to some of the earliest versions of Photoshop, and it is completely free to download and use. It is pretty powerful and you can use it for tone mapping to lighten shadows as well as adjust colour tones, but I mainly use it to fix lens distortion and perspective issues. Here’s a before/after example after using the perspective transformation tool and adjusting the brightness/warmth:
4. Touch Retouch
I’ve mentioned this phone app before in my mobile photography guide here, but it’s worth bringing up again. Touch Retouch is a seriously incredible app ($1.99 in the Apple app store) that lets you remove unwanted objects from your photos in the blink of an eye. I’ve found that it works best when you’re removing objects or people from photos of water or more solid backgrounds. Don’t ask me how it works, but it’s pure magic.
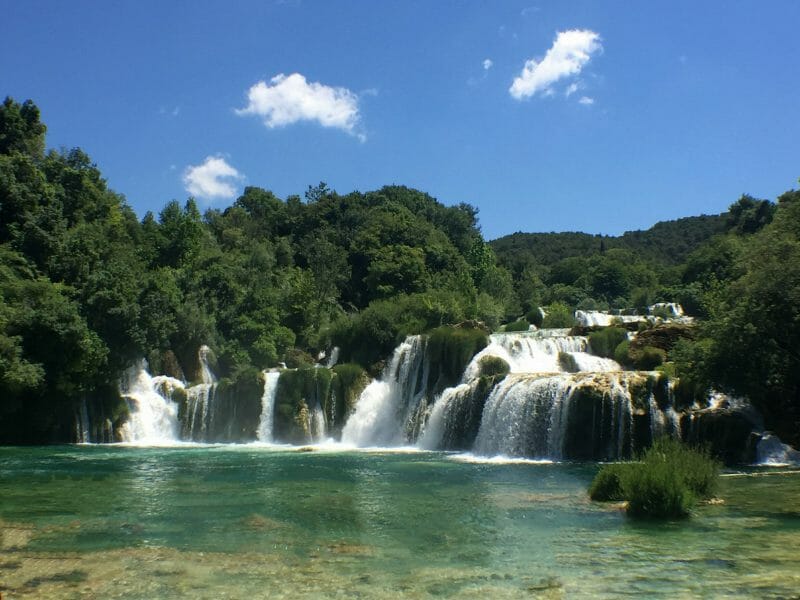
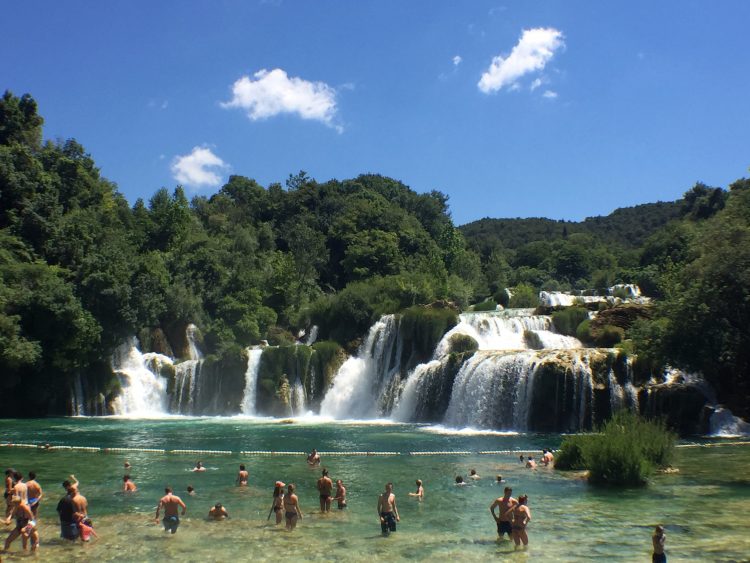
Here’s an extreme example of how I used it to remove a bunch of people and a no-swim barrier from a photo of the Skradinski Buk in Krka National Park. I’ve also used it to remove birds, rubbish bins and other random things from my shots.
5. A Color Story
Over the years, I’ve switched back and forth between VSCO, Snapseed, Afterlight and A Color Story to edit photos on my phone. I now find myself using A Color Story a lot more, especially as it has a great grid management tool so that I can (somewhat) plan my Instagram feed.
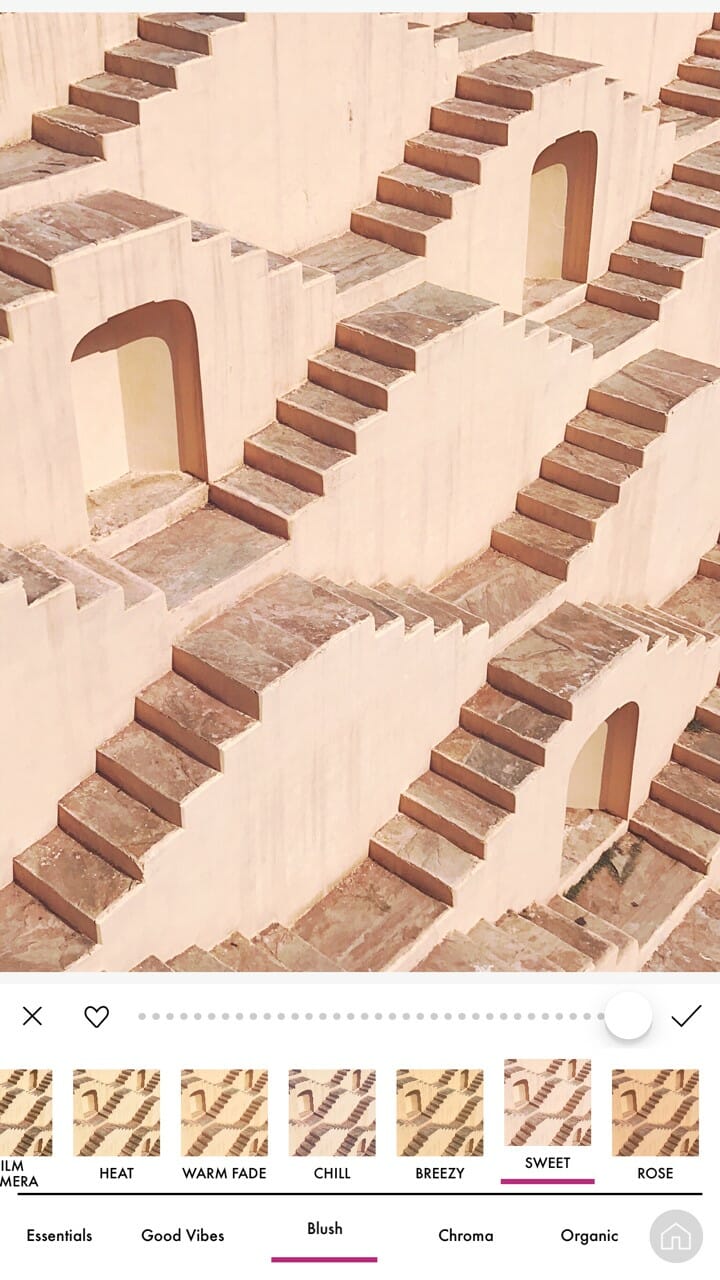
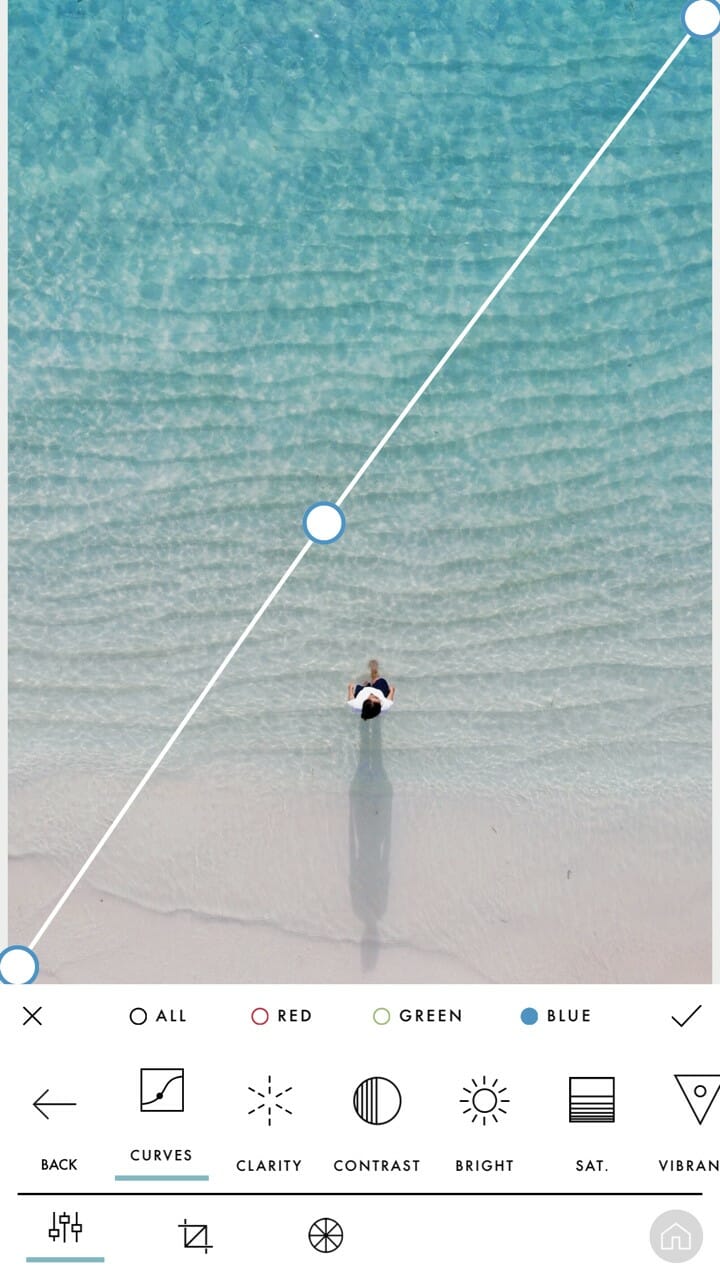
The app has lots of free filters or you can create and save your own “recipes”, but aside from the filters it also has lots of photo editing tools including colour curves, simple split toning, and selective editing (gives you the option to edit a certain part of your photo without affecting anything else).
That’s it! You can check out my Instagram for even more travel photos!
Did you find this guide helpful? Pin this for later!
Enjoyed reading this article? Subscribe to the mailing list!
* Unsubscribe at any time. Your e-mail address will only ever be used to send the occasional Yoga, Wine & Travel newsletter.